
A Stand for the Camping Kitchen Box Chuck Box
by Kurt Huber | Published 11/3/2020
Some one wrote (messaged? that is what we do now right?) the other day and asked about a stand for the Camping Kitchen Box. We don't make one as we have not been able to come up with a better solution then what is already available. What follows are some suggestions arranged them from lightest to heaviest, which also pretty much corresponds to "Might be a little wobbly" to "Very Sturdy"
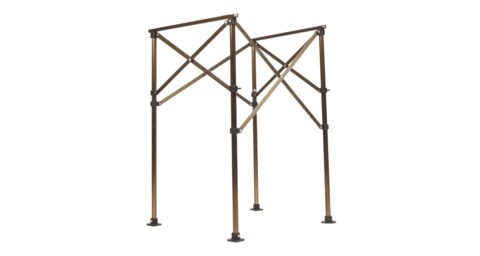
Coleman Stove Stand
The first solution is the Coleman Stove Stand It weighs less then 4 pounds and it will hold up the box no problem, but will probably have the most sway compared to other options.
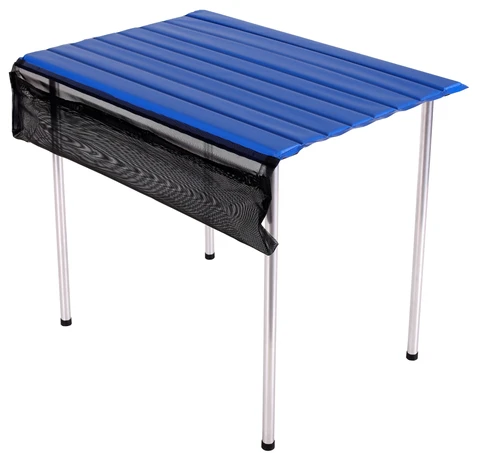
Camp Time Narrow Roll-a-Table
The Camp Time Narrow Roll-a-Table is almost a perfect fit. The top is 32" X 22" inches and only weighs 8lbs. There is also a version available with adjustable legs.
Walmart Folding Table
The Mainstays 40 Plastic Adjustable Height Fold-in-Half Folding Table from Walmart is a little bit heavier at 12 ½ pounds, but it is very sturdy. The top is 40" X 20" which is large enough for the box with some work space left over. It also features adjustable legs giving you height options.
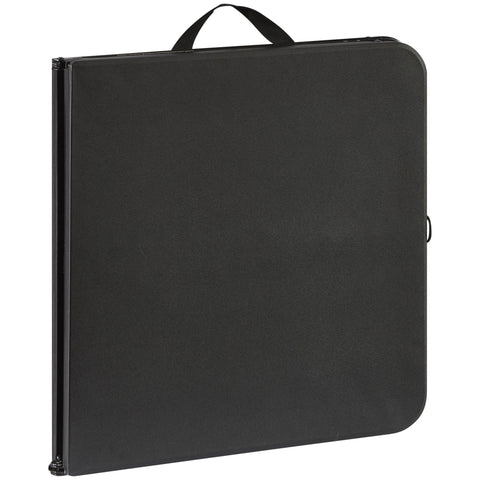
If you don't like Walmart, the Lifetime 4' Fold-In-Half Adjustable Table is similar , with a little larger top (48" X 24") but also weighs more (around 20 lbs.)
What about the table that I have featured all over the web site? Well that table is OK, but next time I buy something it will probably be one of the above options. It is light weight, and corresponding a little wobbly. I think I originally got mine at Target years ago when they sold more camping equipment, and it is no longer available, but you can find similar items by googling.
View
Paper Towel Holder for the Chuck Box
by Kurt Huber | Published 6/21/2020
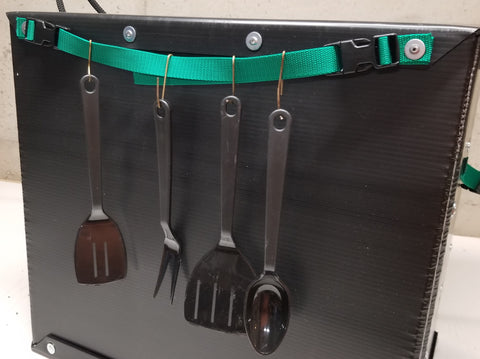
The Camping Kitchen Box now has a paper towel holder.
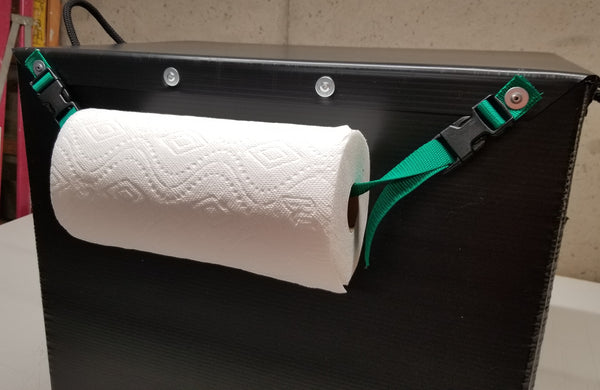
I call it a paper towel holder because that is its most obvious use, but It is really two buckles in the back of the box, two which you can attach the included strap with two buckles, so you can use it however you find it useful. For example, in the picture below I just bent up some wire, and hung my cooking utensils from it. I intentionally have left the strap long, in case you have some other ideas.
View
Making a Cover for the Camping Kitchen Box
by Kurt Huber | Published 5/6/2020
I have had multiple inquires about a cover for the Camping Kitchen Box. It has taken a while but I have final come up with something that meets at the intersection of inexpensive, useful and easy to make (to match my rudimentary sewing skills). I was offering them for sale, but I wanted to put the direction out there for those of you who can sew.
First here is the finished cover:
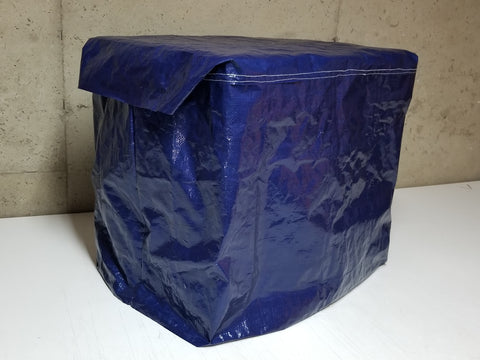
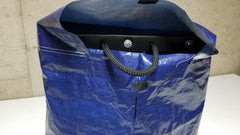
Besides being easy and inexpensive to make, this design also allows easy access to the handles, allowing you to carry the box without removing the cover
Materials
The cover is made from the good old reliable blue polyethylene tarp. I chose it because it was cheap, and it greatly simplifies things since hemming the edges is not required. I used "Extra Strong Upholstery Thread" which is made out of Nylon and plenty strong. I used a couple of pieces of stick on Velcro to hold the flaps over the handles down.
Cut the Pieces
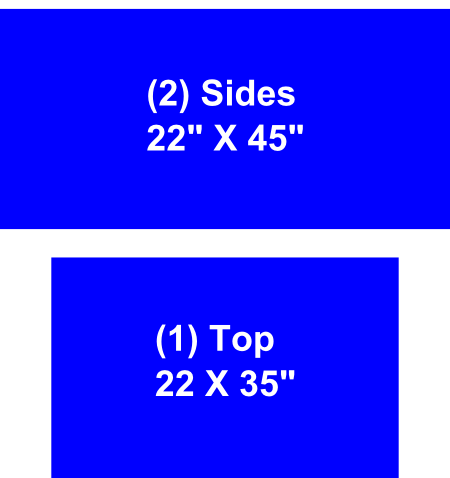
There are only three pieces, two sides, which when sewn together circle the whole box, and a top. A 6' X 8' foot tarp actually has enough material for two covers if you cut carefully. I removed the factory hems and then cut out the pieces.
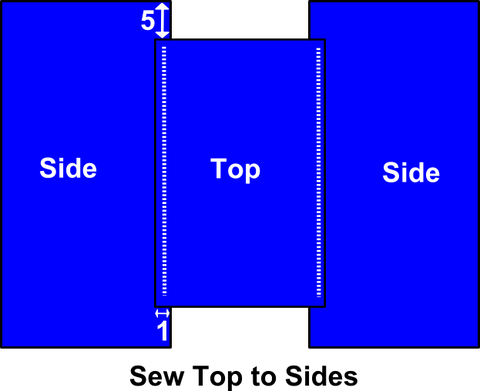
Sew the top to the Sides
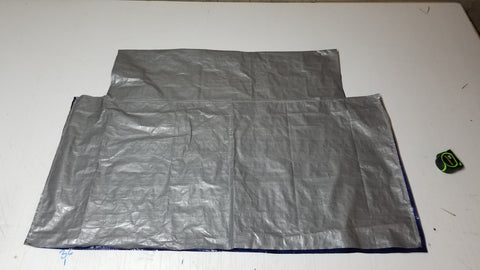
Note for the illustrations that follow, the blue side of the tarp is the "good" (eventually outside) of the cover, and the grey side is the "bad" or inside of the tarp.
Sew a long side of the top to a long side of one of the sides, overlapping the two by one inch and spacing the ends of top evenly from the ends of the side (Five inches each way) the Top should lay the top on of the side, so eventually when the cover is complete, water will run down the sides and not inside through the seam. Repeat this procedure, sewing the other side of the top to the top of the other side piece. when you are done it should match the illustrations below.
The one inch overlay might be a bit excessive for good sewers, but it leaves plenty of room for beginning sewers.
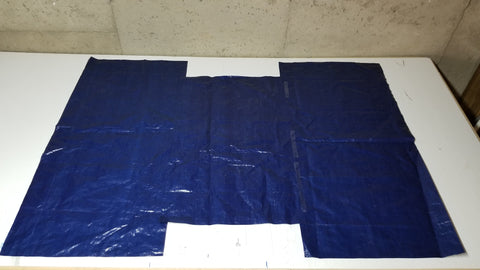
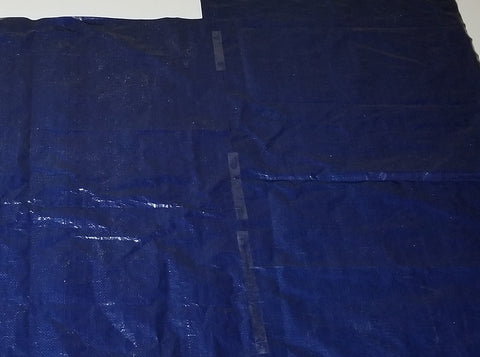
You can use pins or basting tape to hold the seems together as you sew, but for the top I actually used cellophane (Scotch) tape to hold the pieces together until the sewing was complete.
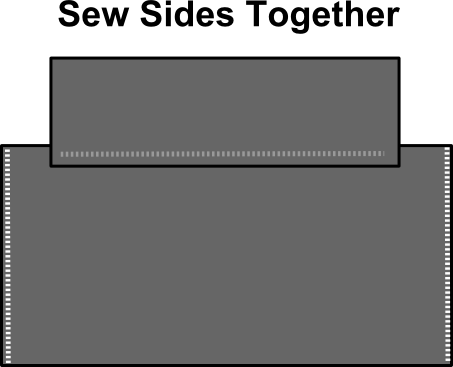
Sew Sides Together
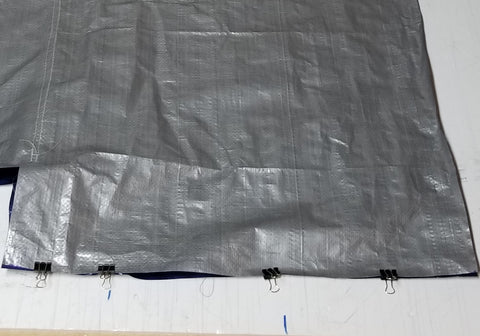
Fold the cover in half across the long axis of the top ,mating the two good (blue) side together so that the silver side is facing out. Sew both the short sides of the sides together.
I used small binder clips to hold the sides together as I sewed them
Finishing it up
Flip the cover right side out, and the Finished cover should look like the photo below. Slip it over the top of your chuck box, and admire your handy work.
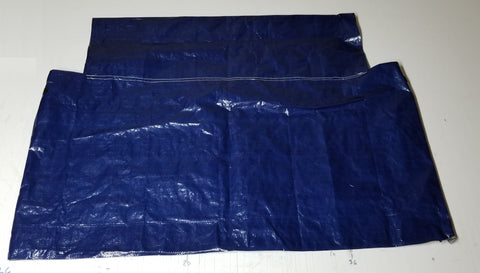
If you make a cover for your camping kitchen box , send us a picture and show us what it looks like.
View
Presenting the Social Distancing T-shirt
by Kurt Huber | Published 4/30/2020
I have been thinking about the whole t-shirt business for a while , because what is a camping equipment website without t-shirts? For the first go round , I created something a little timely for the current weird timeline. They come in grey and some darker colors.


View