
Camping Headlamp Lampshade Take 2
by Kurt Huber | Published 8/26/2017
f you follow this blog you may notice I that some posts are experimental projects . This was the case with the Head Lamp lampshade made from thin plastic cutting sheets (link). I thought it was sort of an interesting idea, and I actually continued to play with the concept event after the blog post, until I stumbled across the Monte Bell Crushable Lantern Shade, which is basically a small stuff sack that you slip over your headlamp and it diffuses the light. Once I saw that I realized that the cutting sheet derived lampshade was kind of silly, and was able to move on to some other things.
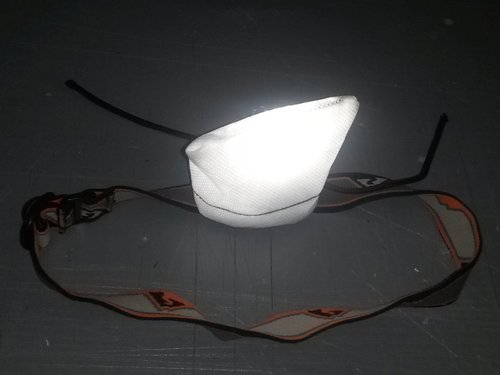
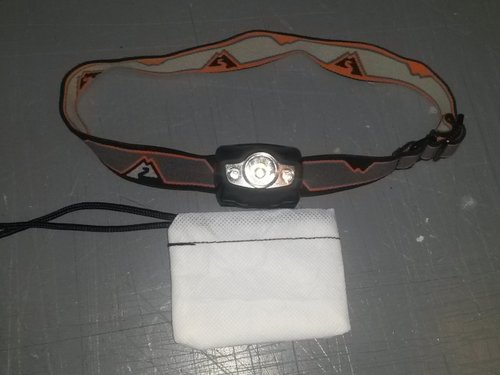
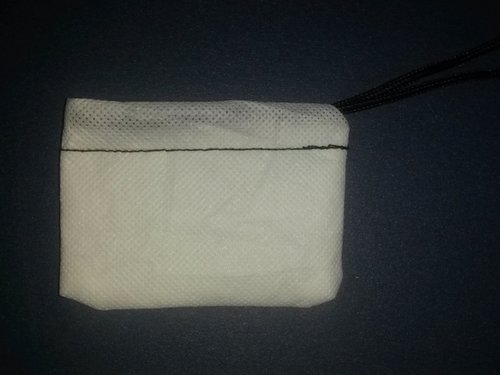
Recently one of those other things to trying to teach myself sewing. Looking for some practice projects, I remembered the stuff sack lampshade. After a couple prototypes here is the result. Like I said it is just a basically a small stuff sack, but it really is successful on two fronts. It does a great job diffusing the light and a very easy project to practice sewing on.
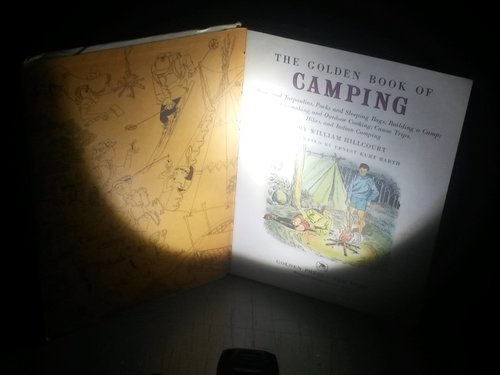
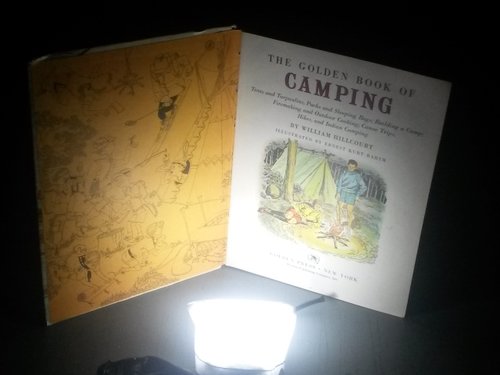
The next two pictures try and illustrate the difference the lampshade makes. The first shot is the naked headlamp pointed at the greatest book ever , “The Golden Book of Camping”. The second shot has the lampshade on. Note the much more pleasant and evenly diffused light.
Making it
As I mentioned, I am just learning sewing and this is not a sewing tutorial. In addition to what I have described below you might want to search youtube for tutorials on basic sewing (if you are a beginner like me) and making a stuff sack
It looks like the Monte Bell is made from polyester tent fabric (30 Denier according to the description) . My version is made with something called non woven polypropylene. If you are not familiar with this material, it’s most common use is in the making of reusable shopping bags. If you happened to have a white reusable shopping bag , you are all set, just start cutting. If you need to track some material down , it is sold under the the Oly Fun brand name. One of the nice things about this material (besides that it does a very nice job of diffusing light) is that since it is not woven, it does not unravel and there is no need to hem.
Besides the non woven polypropylene and the usual sewing supplies, the only other thing you will need is a something for the draw string. I am using paracord.
The only thing slightly unusual from making a typical stuff sack (besides the diminutive size) is that I have doubled over the material to increase the diffusing effect.
On with the instructions
First start with a piece of 7 X 9 inch material
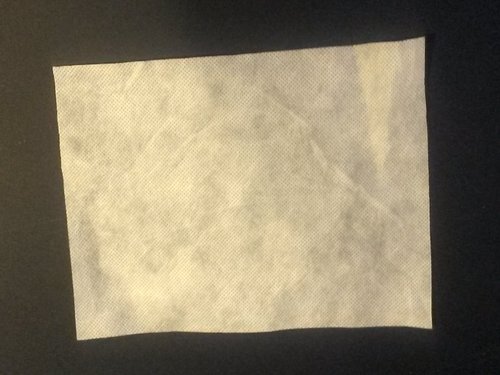
Fold it in half horizontally. Pin the material to keep it from moving and mark a line ¾ of an inch down from the fold to mark the sew line for the drawstring channel . Cut out some 45 degree cuts on each side of the drawstring channel which will make the openings neater.
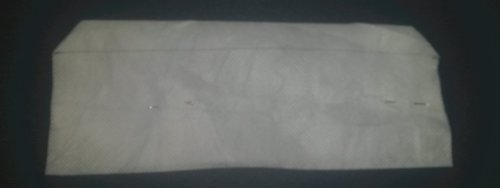
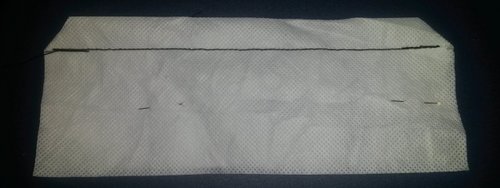
Fold vertically and pin in place
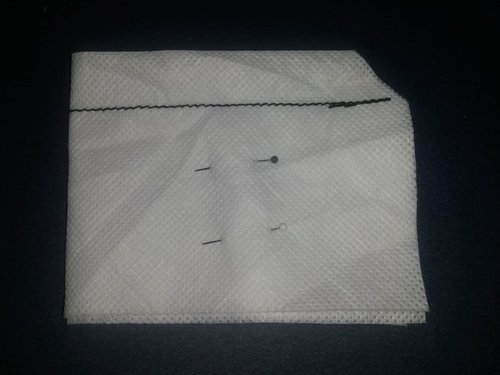
Sew along the open side and bottom, then remove the pins.
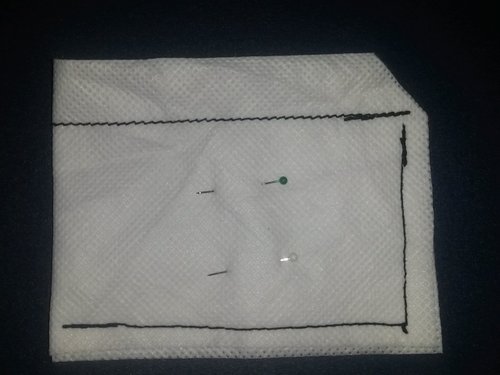
Thread the drawstring, turn the sack right side out, and you are done!
View
Patriotic Coleman Stove
by Kurt Huber | Published 5/28/2017
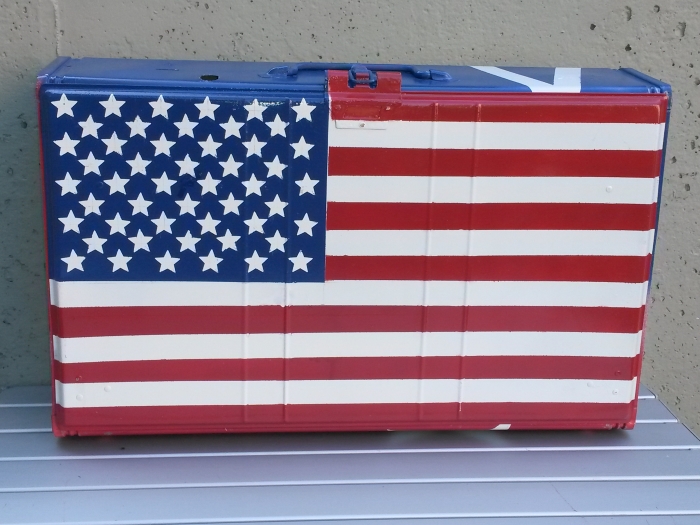
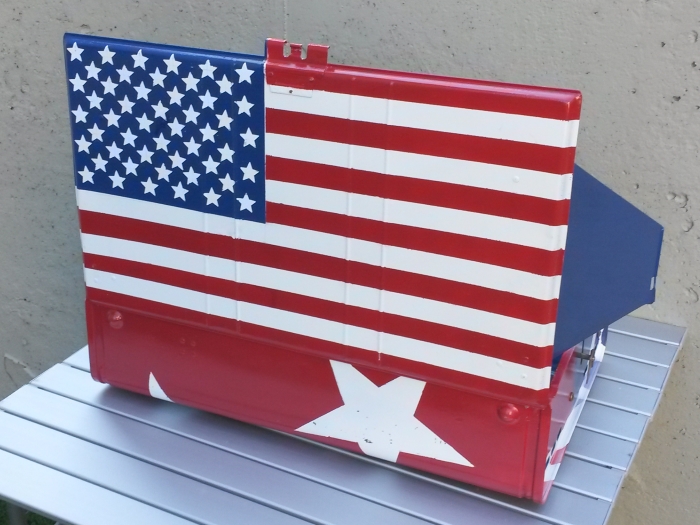
A while ago the Mrs. bought me home a grungy, rusty Coleman Stove (a 413). I thanked her and put it in a pile of things I might get to one day, but recently inspiration hit. After some elbow grease and a wire brush removed most of the rust and dirt, I busted out the masking tape and the spray paint. The result is what you see here.
First I did the top, just trying to do I pretty accurate American flag...
On the rest of the case I just went a little more artsy, but tried to keep with the theme...
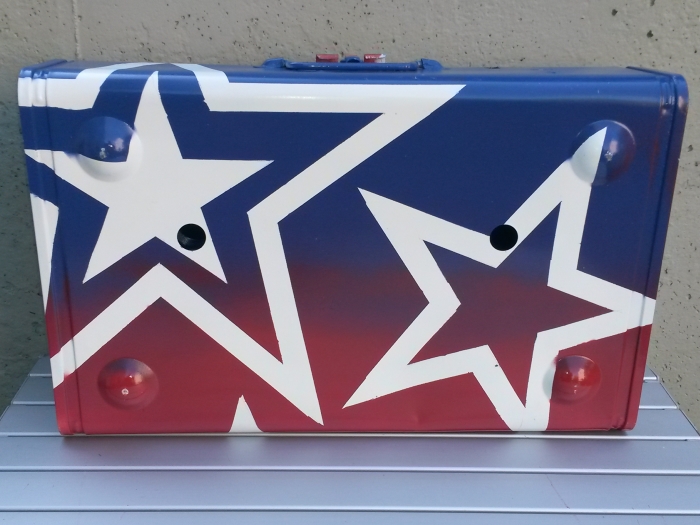
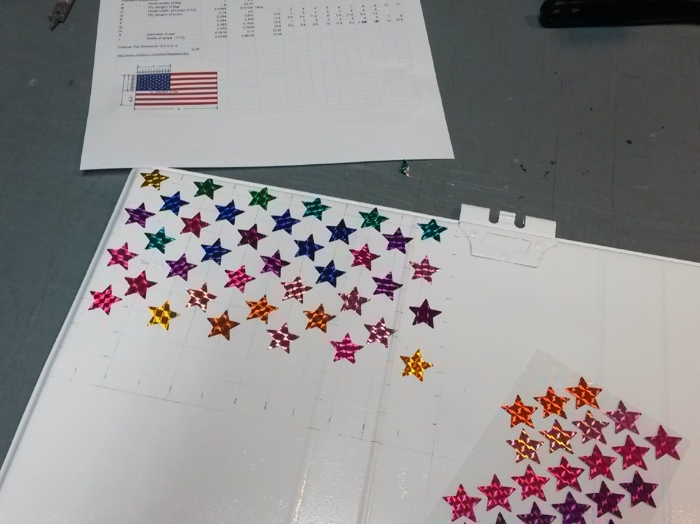
OK I did not do the little stars on the flag with masking tape.. Found the almost appropriatly sized stars at the craft store and laid them out on the proper grid. ( http://www.vexman.net/flagspec.htm )
And I made it so that it "flew" correctly when the stove is open.
View
Custom Camp Box
by Kurt Huber | Published 4/23/2017
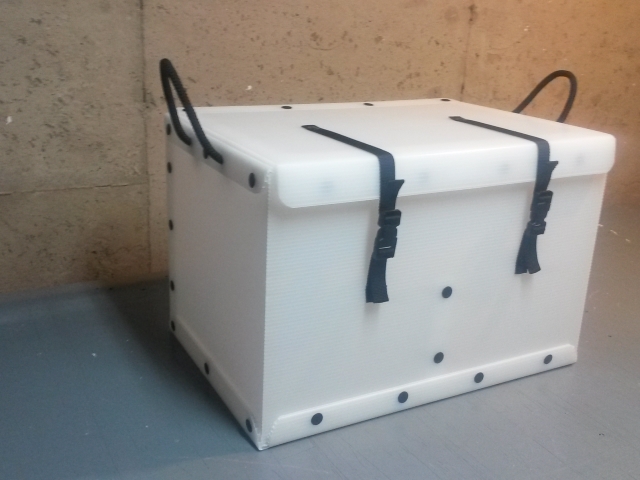
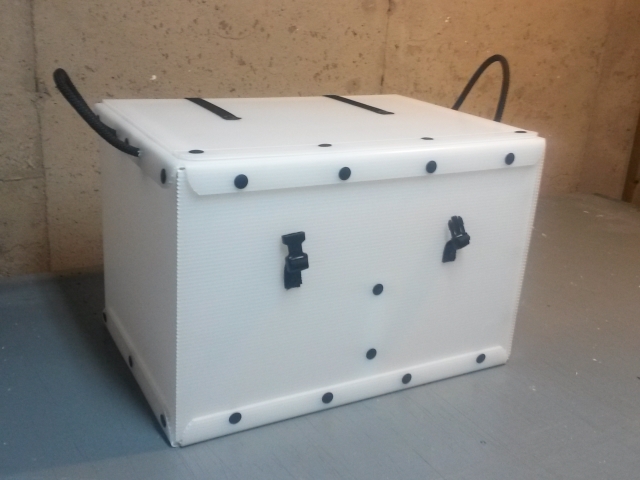
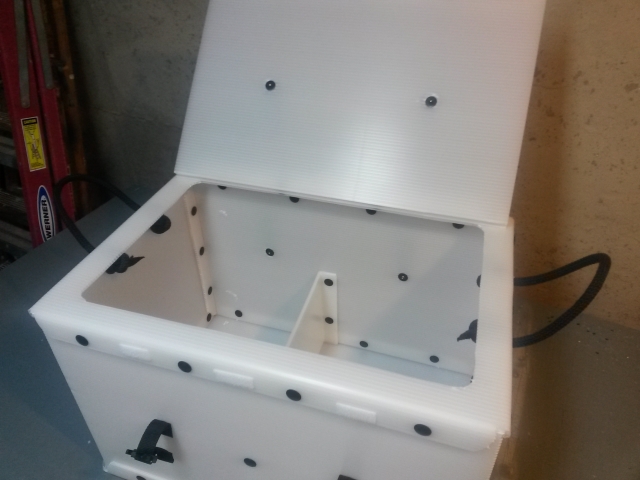
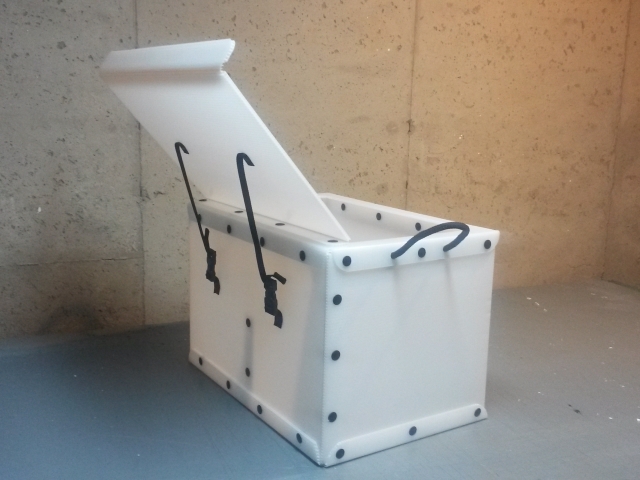
Recently a customer who bought a Camping Kitchen Box contacted me with a request. Could I make a companion storage box? After some hemming and hawing on my part, I agreed to come back with some ideas. The final result is displayed below.
I do get a lot of requests asking about customizing the Camping Kitchen Box. The writer loves the idea of the Camping Kitchen Box, but they want to know if I can change some of the dimensions If they want to make it taller or shorter that is easy, but if they want to change the width or depth , that is more difficult. For the top and bottom, I use some special tooling that is not easy to change, so to change width or depth I would have to recreate it. I don't usually say no to special requests, but when it comes to width and depth the price I will quote is usually more than folks are willing to pay.
Note that on this box, the standard top and bottom pieces are used (the top having a hole of course), so I got to use most of my usual tooling, and the customer got a reasonably priced solution.
If you are Interested in something custom I am always willing to listen.
View
Headlamp Lamp Shade
by Kurt Huber | Published 10/16/2016
When I switched plastic colors (to neutral) I took a picture with it lit up from the inside (inspired by this). I started thinking about making a lantern / lampshade for my headlamp out of some of the corrugated plastic. After a couple of unsuccessful attempts. I came to the conclusion that it was the wrong material for the job, but I was not ready to give up on the idea. It turns out that I had the perfect material just sitting in my Camping Kitchen Box... plastic chopping mats. After trying some more complicated designs, I ended up with a dead simple cuboid design.
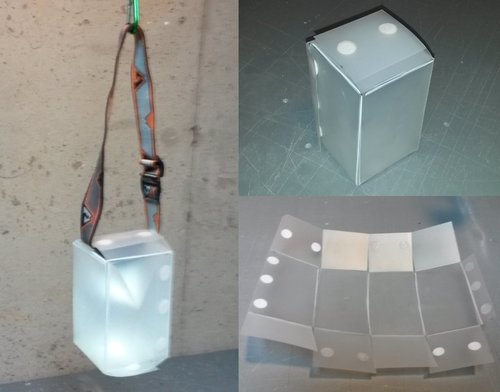
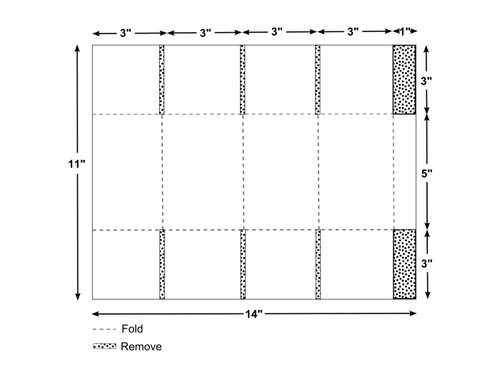
I am not planning on selling these, as they are very easy to make. The cutting diagram is below and the video shows how easy it is.
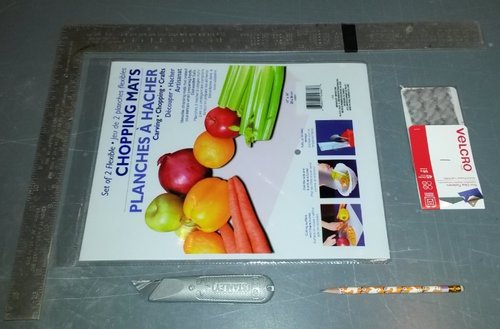
Everything you need to make your own Headlamp Lamp Shade
Materials
- Dollar Tree 11 X 14 Flexible Chopping Mat You get 2 for a dollar. These are thinner than your typical cutting sheet but just right for our purposes.
- 5/8 inch Velcro dots
Tools
- Pencil
- Box Cutter
- Straight Edge
View